Transducers can be fitted in many ways. The example below is a simple and relatively easy way to achieve a good result. This example demonstrates the fitting of the Eagle Cuda 168 transducer inside the hull. Measurements of the high density foam block may change with fitting other models of transducers. The height of the foam block will remain the same and the principle of fitting the transducer remain the same.
The transducer is nested in the cut-out section of the foam block. Care must be taken to ensure the transducer is parallel to the deck on which it is fitted and that the front of the transducer faces in the correct direction to ensure correct readings. See your manufacturer’s manual for instructions. A blob of silicone sealer is then placed on the surface of the transducer and wedged down by the foam block. Ensure that you use a generous amount of silicone to avoid any air bubbles between the transducer surface and the deck. Mark the position before the installation and sandpaper the surface area lightly with fine grit sandpaper.
What you will need:
- Block of high density foam – 110mm long x 8 mm wide x 60mm high
- Marine grade silicone sealer – 1 x small tube is enough
- Sandpaper – fine grit
- Sharp knife
1. The transducer will be placed via the round hatch immediately in front of the cock-pit. It is wedged immediately underneath the opening of the large rectangular hatch in the center at the bottom of the hull. The transducer will nest in the hollow of the keel.
2. Trial fit the transducer until it nests parallel into the cut-out.
3. The bottom of the transducer must protrude +- 3mm above the edge of the foam block
4. Note the angle of the foam on either side of the transducer bottom. It is angled to closely fit the profile of the hull surface where it will be attached
5. The transducer will be placed via the round hatch immediately in front of the cock-pit. It is wedged immediately underneath the opening of the large rectangular hatch in the center at the bottom of the hull. The transducer will nest in the hollow of the keel.
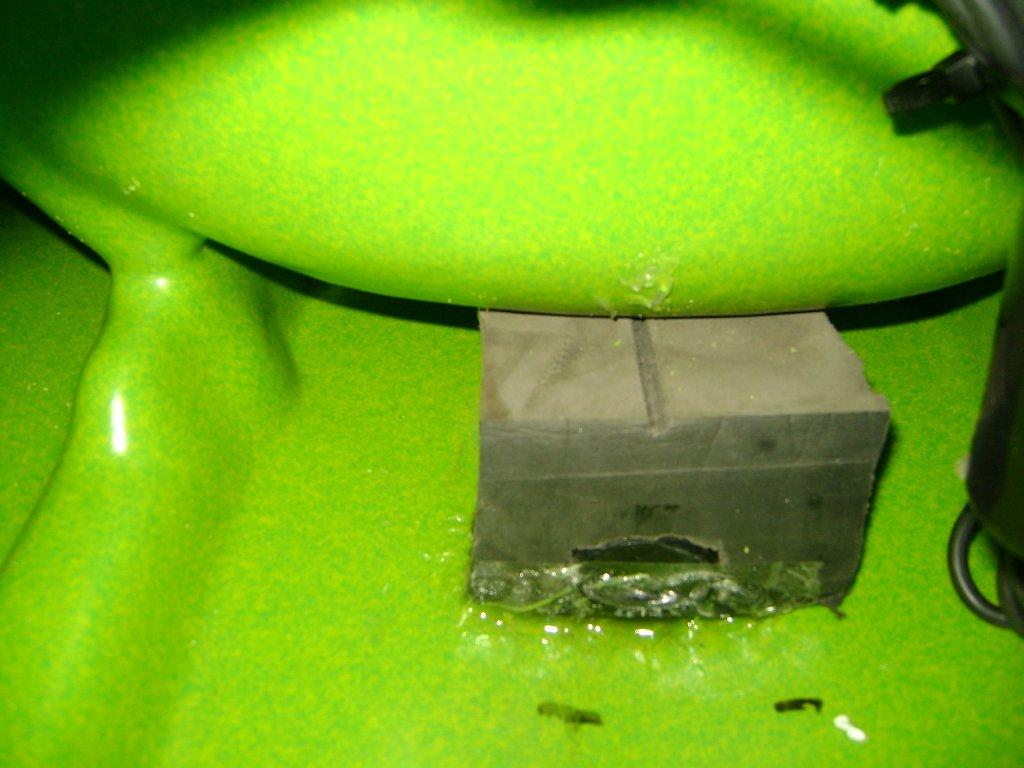
6, 7, 8. Apply a generous amount of silicone sealer the the transducer bottom and surrounding foam bottom, making sure that you fill the spaces in between the transducer and the foam. Apply another blob of silicone to the hull surface. Place and slide the block with the transducer into the gap so that about 2 thirds of the foam block is wedged. Ensure it aligns front to back and leave to set and dry

Pic 1

Pic 2

Pic 3

Pic 4

Pic 5

Pic 6
Pic 7

Pic 8
Please e-mail me if any of the instructions above are not clear